
With so many web hosting services these days, it can be hectic searching for the best one out there. As you know choosing the best web hosting provider is an instrumental part of your journey towards building a solid online presence for your business or for yourself.
Web hosting is basically a service that makes your site or web application accessible on the internet. These web hosting services are provided by web hosts, which are companies that rent out their services and technologies to house websites on the internet.
In this guide, you will understand why Bluehost is the best website host and how to install WordPress on Bluehost.
Why Choose BlueHost?
Bluehost is proven by expert researchers to be the best web hosting service and the largest in the world, powering over 2 million websites globally. It continues to impress in almost every aspect, delivering the complete package of versatility, security, speed, and superb reliability for just $2.75 per month.
It’s easy to use ideal for the first-timers and you are given a one-year free domain upon signing up (usually $10–15 per year). Bluehost also comes loaded with features to help you get set up quickly. Bluehost also offers shared hosting plans at an entry-level price. If you are creating a blog for the first time it’s a very safe and affordable option.
Bluehost has its own website builder that features drag and drops editing, live editing, mobile editing, and stock image repository. It also includes over 300 templates, full WordPress access, and custom CSS.
Also, Bluehost offers 24/7 customer support as well as a free site migration tool and the end result is a mix of user-friendly aspects alongside a good amount of power.
For the money, you get an automated setup for WordPress, not to mention other popular apps via a Mojo Marketplace-powered system. There’s also a cPanel-based area to allow expert users to tweak things.
Steps Guide To Install WordPress With Bluehost
. Go To Bluehost.com
. Pick A Bluehost Plan
.Choose A Domain Name
.Fill In Your Details
.Check Your Package Information And Finish Registration
.Install WordPress with Bluehost’s “One-Click Installation
A. Go To Bluehost.com
To sign up with Bluehost, simply go to Bluehost.com
B. Pick A Bluehost Plan
When choosing a Bluehost plan you must always go for a suitable one that suits your business plan or personal needs. There are 4 different hosting plans you can choose from depending on your preference.

(i) Basic Plan
This plan is ideal for a new blog or a small site. It’s a good choice for beginners and you don’t yet have a flood of traffic to your website. So it’s advisable to not spend your hard-earned money on the other plans right away but you can always upgrade later and choose a more expensive plan going forward.
(ii) Plus
Great for small businesses. It’s a good choice for small businesses that operate within minimum margin scales.
(iii) Choice Plus
Perfect for growing your business. Good choice especially if you are looking to expand your operating margins and add more content and experience more traffic.
(iv) Pro
Ideal for high-traffic blogs and business websites. Good choice for websites with an already established audience, especially eCommerce websites that need extra security to process payment.
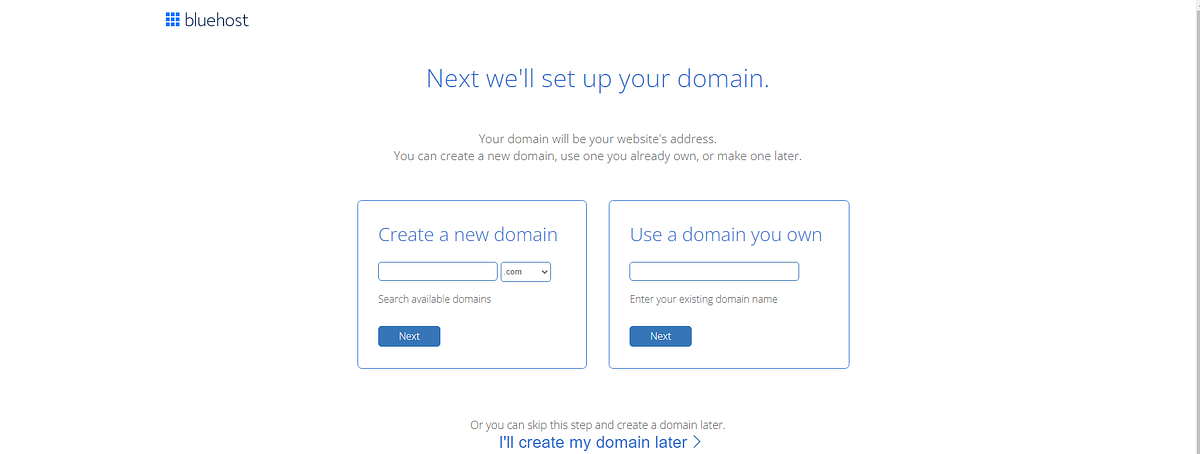
C. Choose a Domain Name
Provide a domain name for your website or use the one that you already have. This is basically like the address where people can find your site on the web. If you are not sure about your domain name there is an option to skip this step for now.
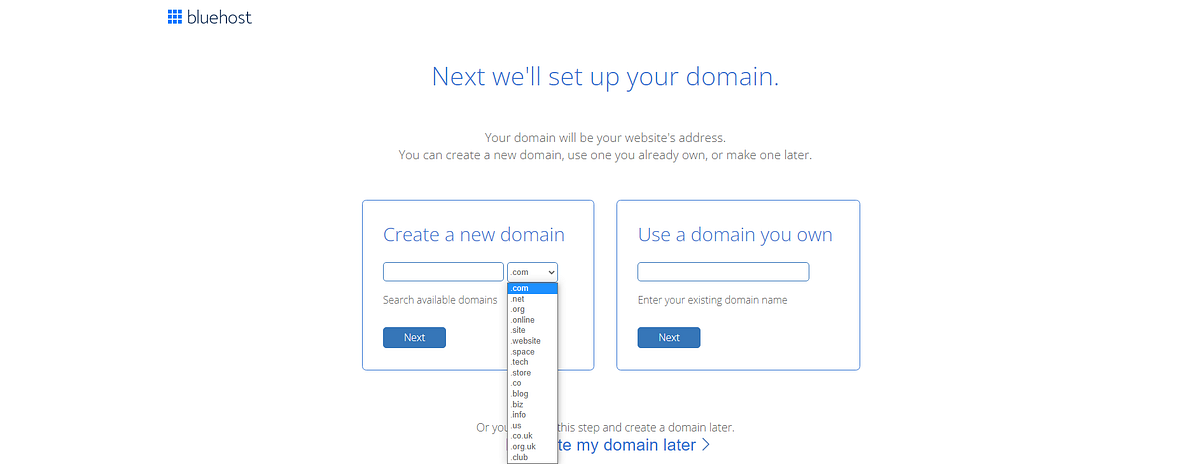
On the drop-down menu under “Create a new domain,” you can choose your domain name extension like(.com, .net, .org or .biz). If you already own a domain name just enter it in the “Use a domain” you own form and click “next”.
D. Fill in Your Details.
Next step is to simply fill in your details i.e Your first name, last name, street address, country, city, zip code, phone number, email address. Adding your business name is optional.
Note that your receipt will be sent to the email address you enter.

E. Check Your Package Information and Finish Registration.
The next step is to scroll down and check your package information. Make sure to review the add-ons that are included by default. Remember to check only those that you need.

You’ll notice that a few extras, like Codeguard Basic, Bluehost SEO Tools Start, and SiteLock Security, are automatically added to your basket. These tools are nice to have, and you may want to purchase them, but they’re definitely not required! So make sure to take a good look at the Package Extras section, and uncheck any extra costs that you don’t want.

But if you wish to consider either you can click on the highlighted “More information” button below each one of them and go through the information to understand better.
I should mention that Bluehost has a 30-day money-back guarantee, so you can always opt-out during that time. That doesn’t extend to the domain. If you get a domain from Bluehost and then cancel within the first 30 days, they will deduct the necessary amount for the yearly domain fee. So, keep this in mind in case you ever need to get your money back.
After filling in every information, just agree to the terms and conditions of Bluehost then hit the green button ‘submit’ at the bottom of the page, and you’ll be the proud owner of a new Bluehost account.
F. Install WordPress With Bluehost “One Click Installation”.
Once you’ve finished signing up the next step is to install WordPress and start setting up your site. This is probably the easiest step in the whole process because Bluehost provides free WordPress installation, so you don’t have to do any of the technical stuff yourself.
(i) To start, just log into your Bluehost account and click “My Sites” then click “Create Site”.
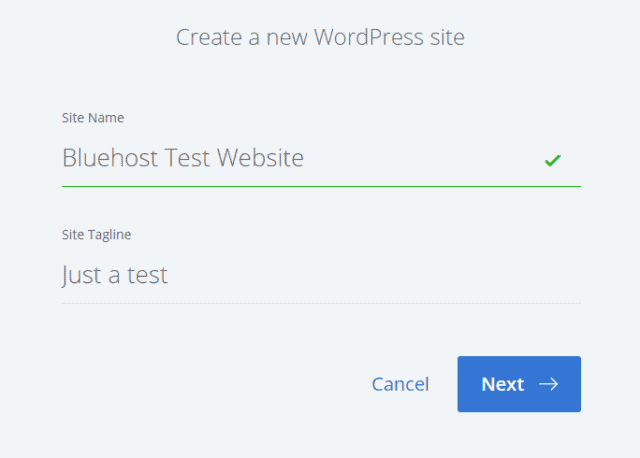
(ii) Give your new WordPress site a name and a tagline
(iii) Select the domain you want to use for This WordPress Website and uncheck the plugins you don’t need. Remember to take note of your WordPress website's URL, Username, and Password.


(iv) Now it’s time to pick a theme. You can choose from your installed themes or any one of the free WordPress themes.

(v) From there, the next step is all up to you.
Do you want to make a contact page to help people reach you? Perhaps you want to add content to your website? Maybe you want to add images or more pages?
Bluehost lets you do all these things easily by simply hovering over each option and clicking “Let’s Go”.
Now, You’ve successfully installed WordPress with Bluehost.
That’s it! I hope everything was simple and clear.
If you have any questions, Feel free to comment below.


0 Comments